
Hello, dear readers! Many times when penetration testing, playing CTF's, or experimenting with new tools, I find myself needing ready access to a Linux installation of my choosing, a public IPv4 address, and...well, not a lot else really. I like Virtual Private Servers (VPSs) for this purpose — essentially a VM hosted by somebody else, so I don't have to walk through Yet Another Linux Installation.
There are a number of VPS providers. I use Amazon Web Services, DigitalOcean, and Linode pretty frequently. Today, I'll talk about getting started with Amazon Web Services, as they have a really nice deal to get your Linux (and Windows!) VPS fix for free*.
* Well, free for the first year, anyway. About $8.75 per month thereafter for Linux (~$12 for Windows), depending on bandwidth utilization and such.
To read more about Amazon's offer, you can browse here. Some services are only free for the first year of a new account (like the EC2 instances I'll be talking about today), whereas others are free forever (with usage limitations).
Okay, how does one go about setting up a new Amazon account? I admit my primary account was made before a free tier existed, so sadly my personal account doesn't get access to those services. So I'll walk through the setup on my Counter Hack email, instead. Shall we play a game?
Signing up for Amazon Web Services
First, browse to Amazon Web Services and click Sign Up in the upper-right corner.
You'll see a page like the following. Fill out the requested information.

After you click Continue, Amazon will send you a confirmation email. You don't have to click on anything in the email. Amazon will ask for more information, as shown in the following screenshot:
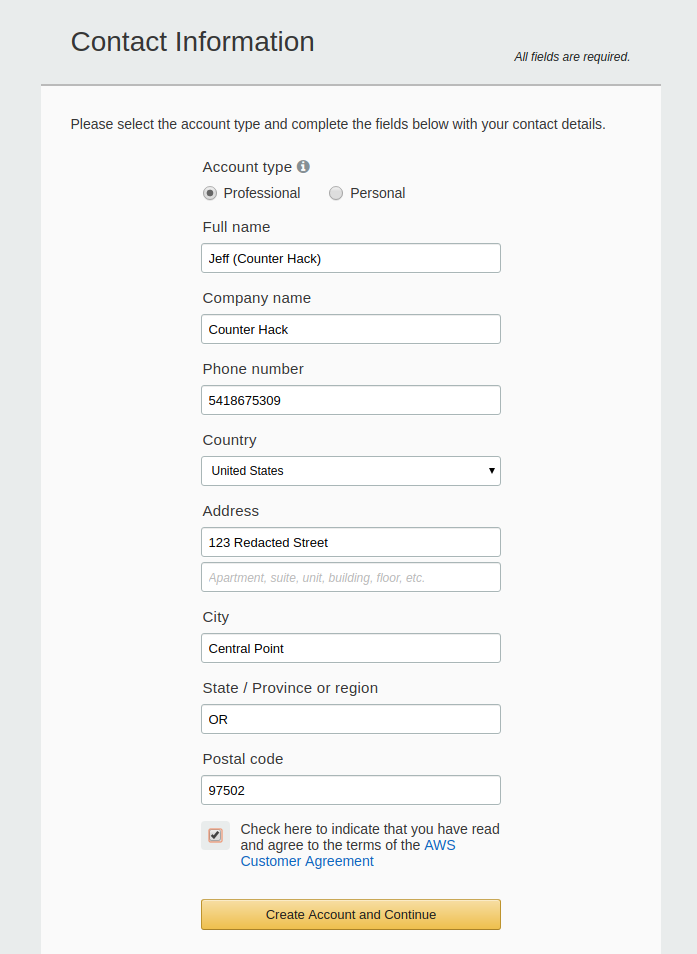
Note: I am not Jenny. Please don't call her.
I also had to do a phone verification and CAPTCHA, assumedly to make sure people aren't signing up for thousands of free tier accounts. For some reason I'm sure I can't understand, Amazon isn't using Google's reCAPTCHA service (though to be honest, I'm tired of filling out reCAPTCHA's for new accounts on Twitter).
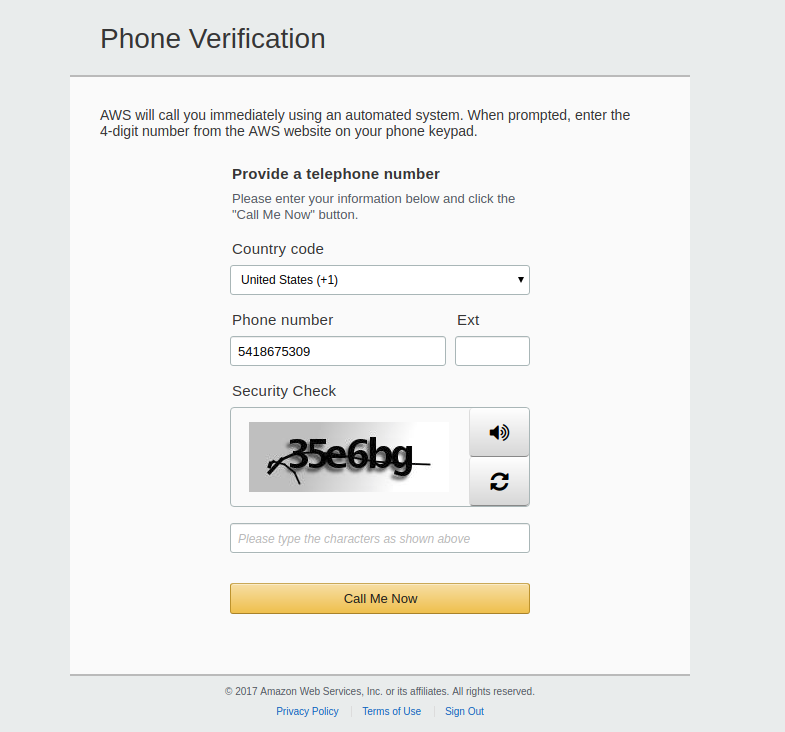
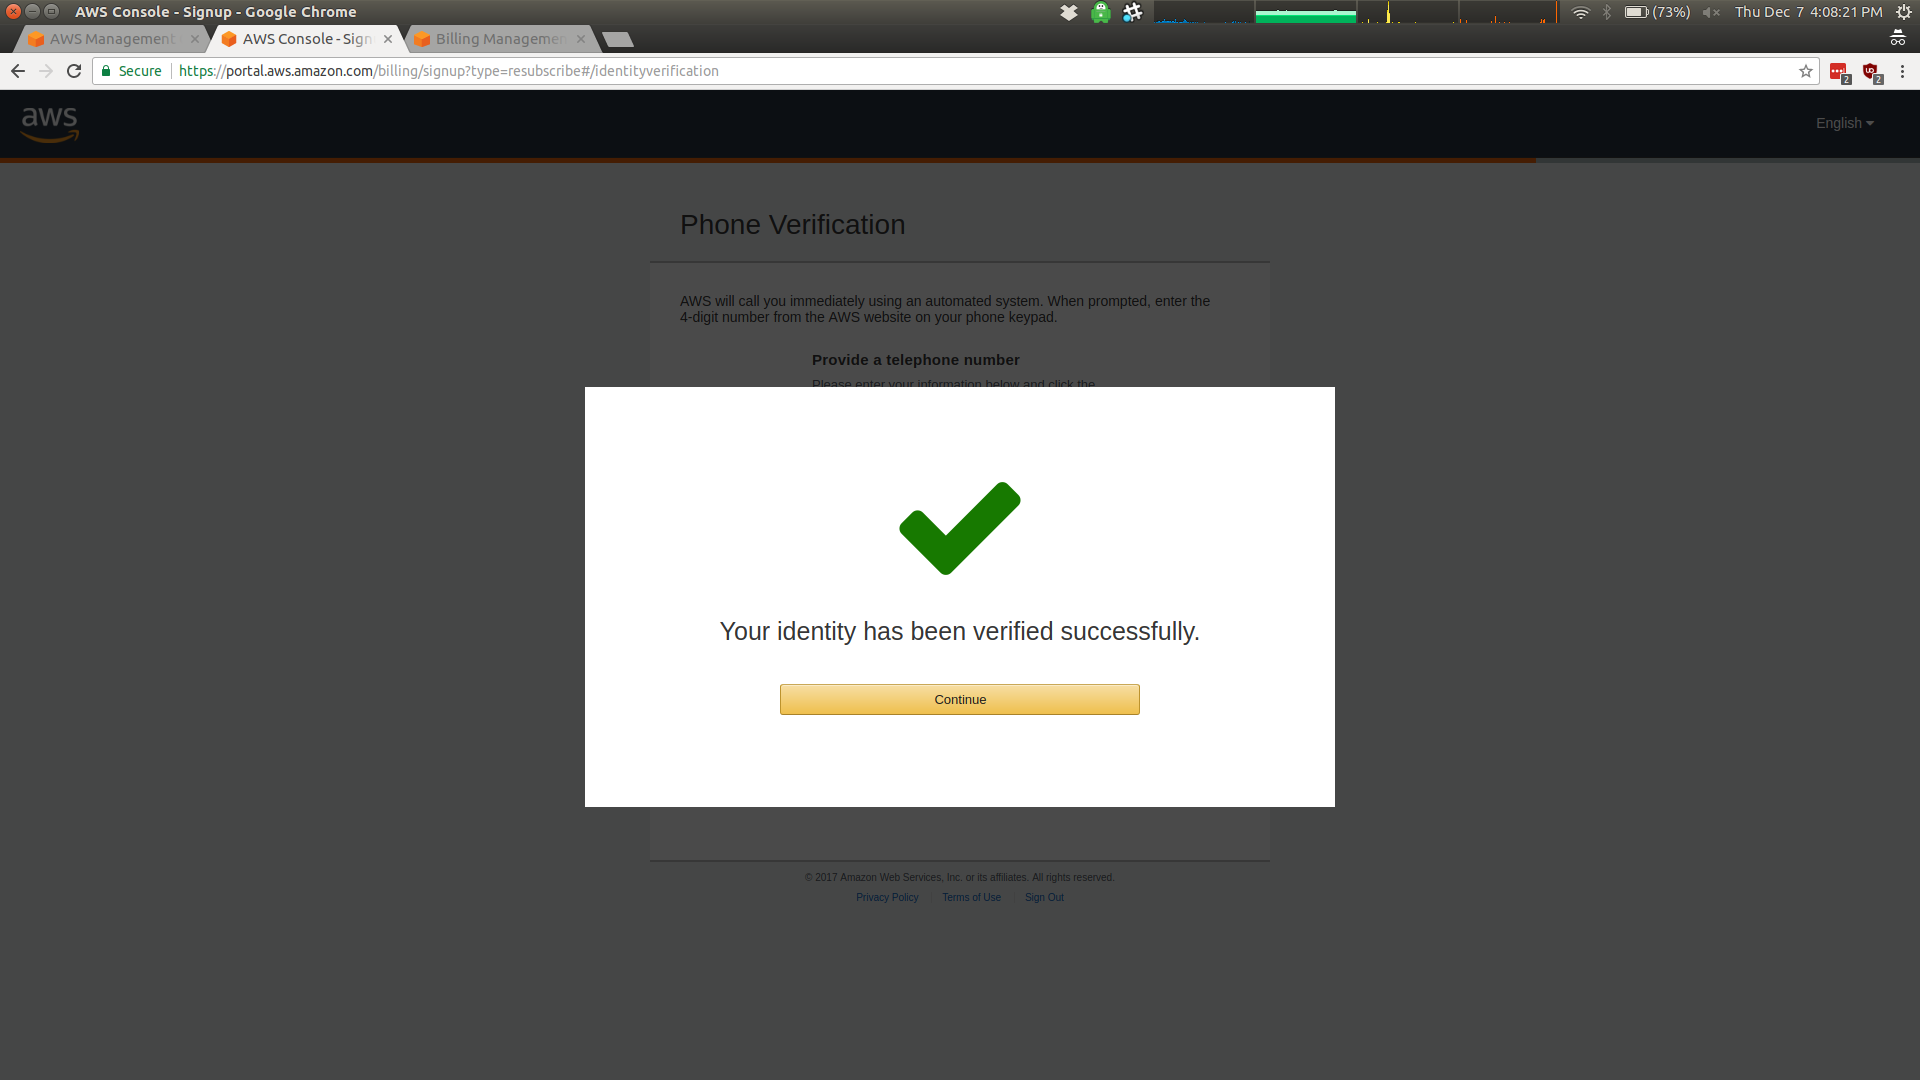
Note: I am still not Jenny. But her number does work is registered on a surprising number of in-store reward programs...
After filling out that last bit of info, you should arrive at a management screen that looks much like the following:
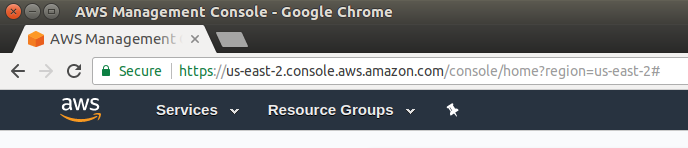
Note that you're automatically dropped into one of Amazon's many sites. In my case, this management console is for us-east-2. You can see the other sites available in the upper right of the same page:
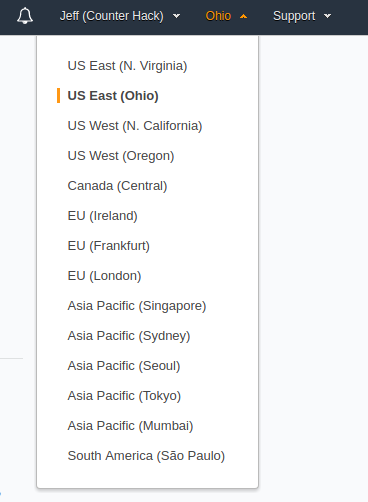
(Pro-tip: When doing penetration tests in a foreign country, talk to your lawyer, but consider setting up a server in the same foreign country. It can make dealing with international computer crimes laws considerably easier, since your scanning and C2 traffic will originate and terminate in the same country. I Am Not A Lawyer, this is not legal advice, etc.)
In my case, I'll set up a new EC2 instance (or "server", essentially, but you'll probably hear the EC2 terminology) in us-east-2, so I don't have to choose a new region. You may want to choose a region physically closer to you — for example, I live in Oregon, and there is an Oregon datacenter that should have lower latency.
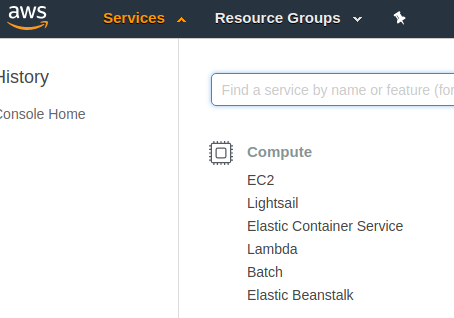
To set up my new and free (for a year) server, I'll click on Services, then on EC2 under the Compute section. There are certainly a lot of other Amazon Web Services available, but today we'll limit ourselves to EC2.
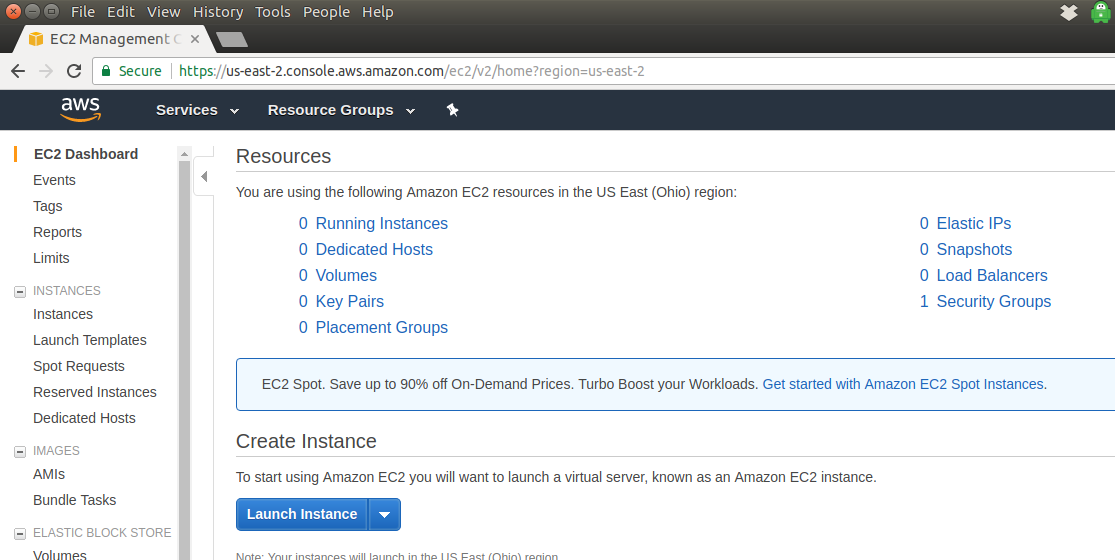
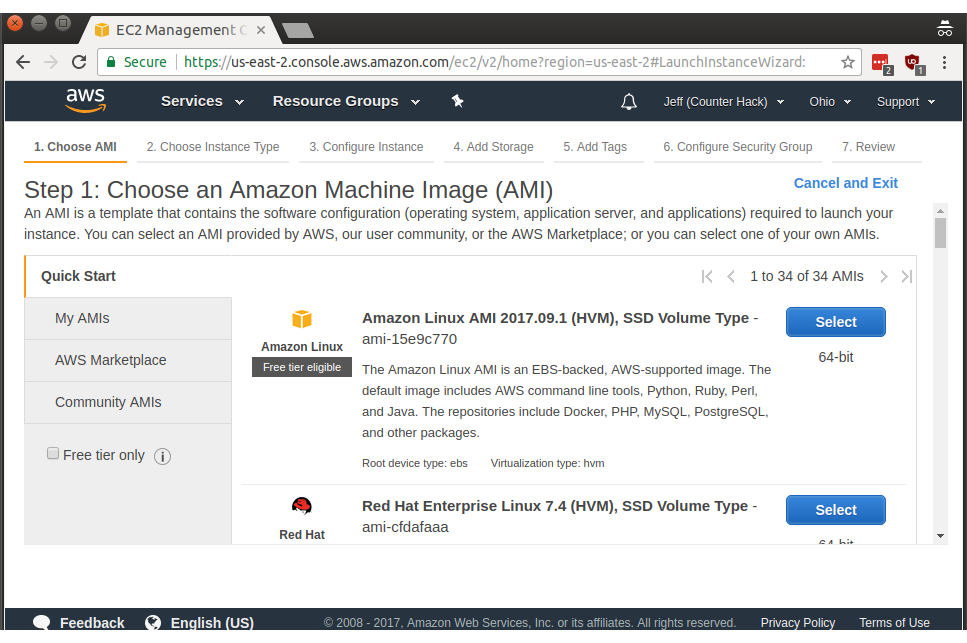
Here we are at the EC2 Management Console. There are lots of options available, but let's start by making our free Linux instance. Click on Launch Instance.
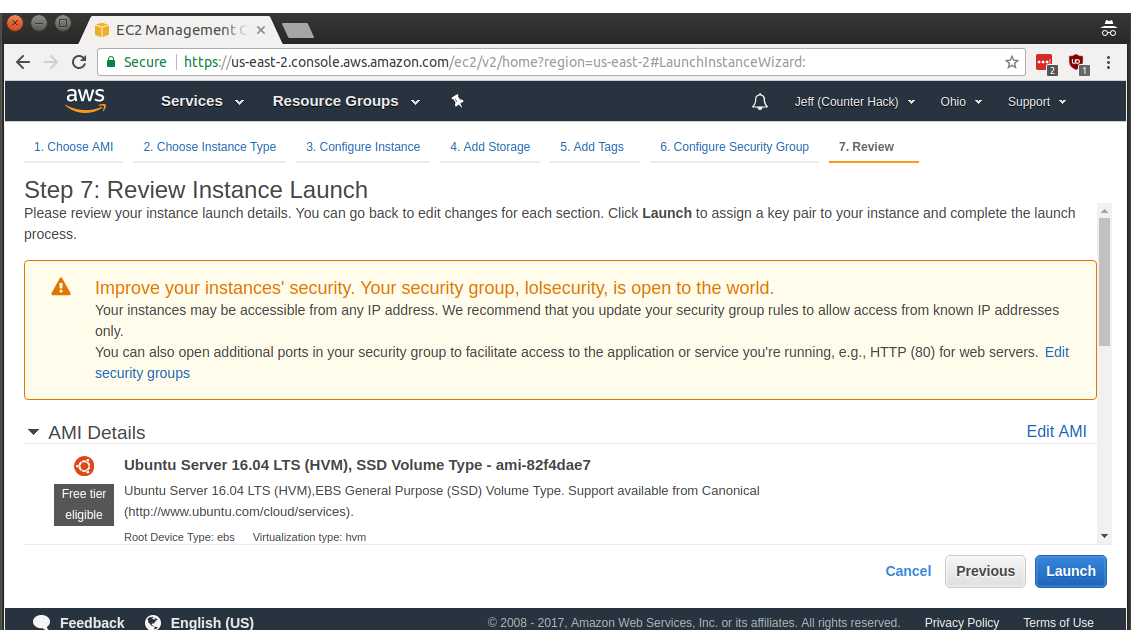
There are seven steps to creating an instance, though the process can be streamlined and automated. In Step 1 (shown below), scroll down and find Ubuntu Server 16.04 LTS (HVM), SSD Volume Type - ami-82f4dae7, then click Select.
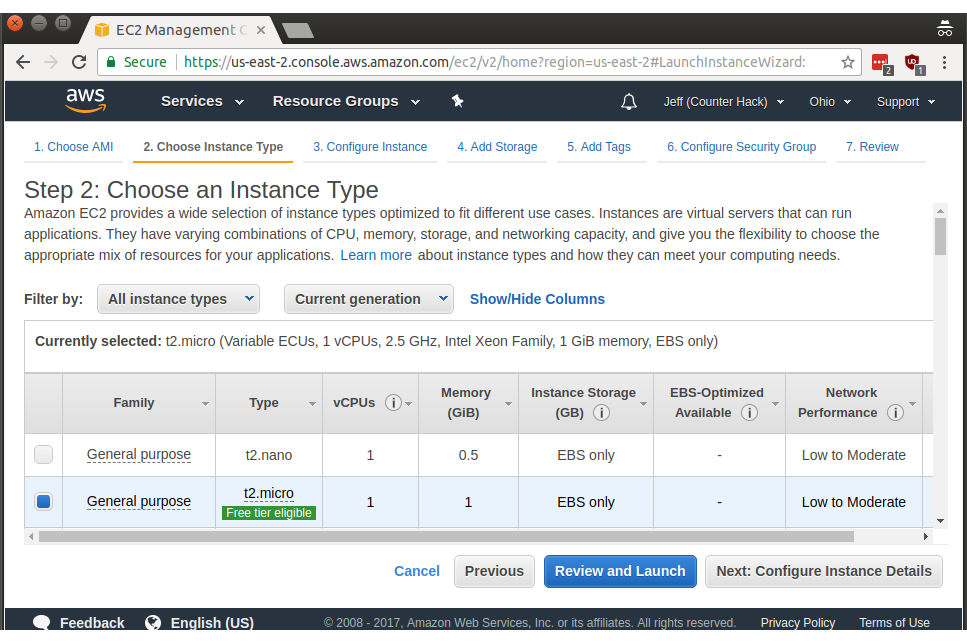
Make sure t2.micro is selected (it was select for me by default), then click Next: Configure Instance Details. After you get your security groups and SSH keys set up, you can use Review and Launch, but let's go one step at a time to make things easier.
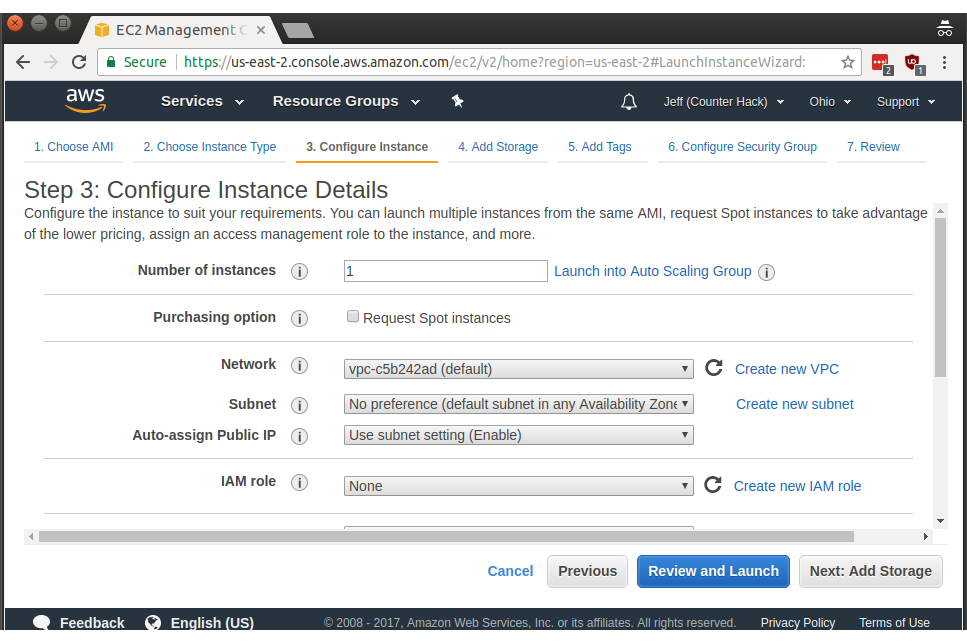
We don't need to specify any of the options in Step 3 (we're not launching multiple instances simultaneously, setting up more advanced network settings, etc.) so go ahead and click Next: Add Storage.
Next we're at the storage section. t2.micro instances only use Amazon's Elastic Block Storage service or EBS for short. EBS is free for up to 30 gigabytes for the first year of utilization, so you're safe to increase the default 8 gigabytes to 15 gigabytes under Size (GiB) for the Root volume:
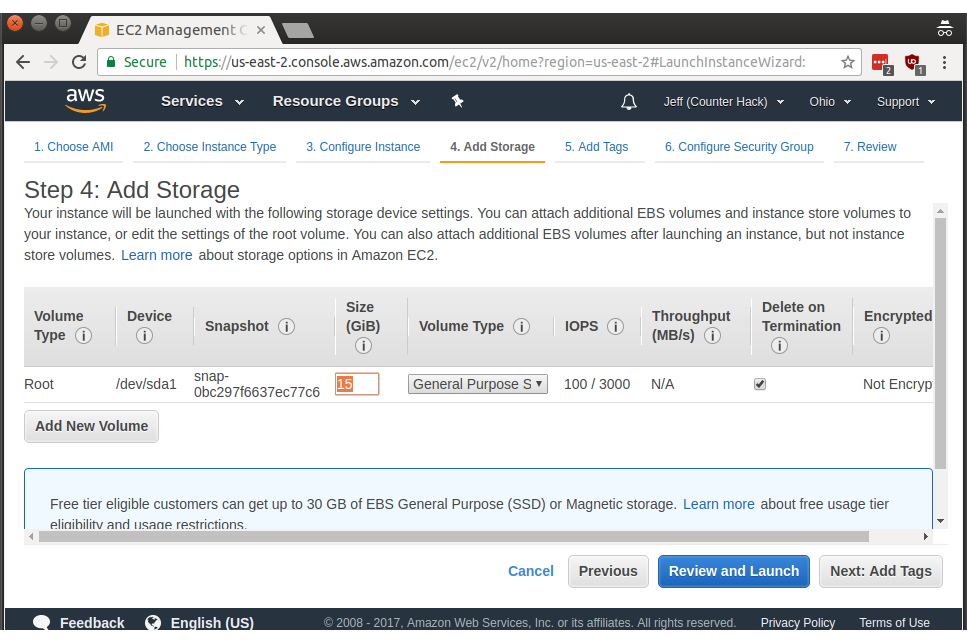

Hopefully gigabytes vs gibibytes doesn't result in a few pennies a month in charges. Make it a baker's dozen of gigabytes if you want to play it safe.
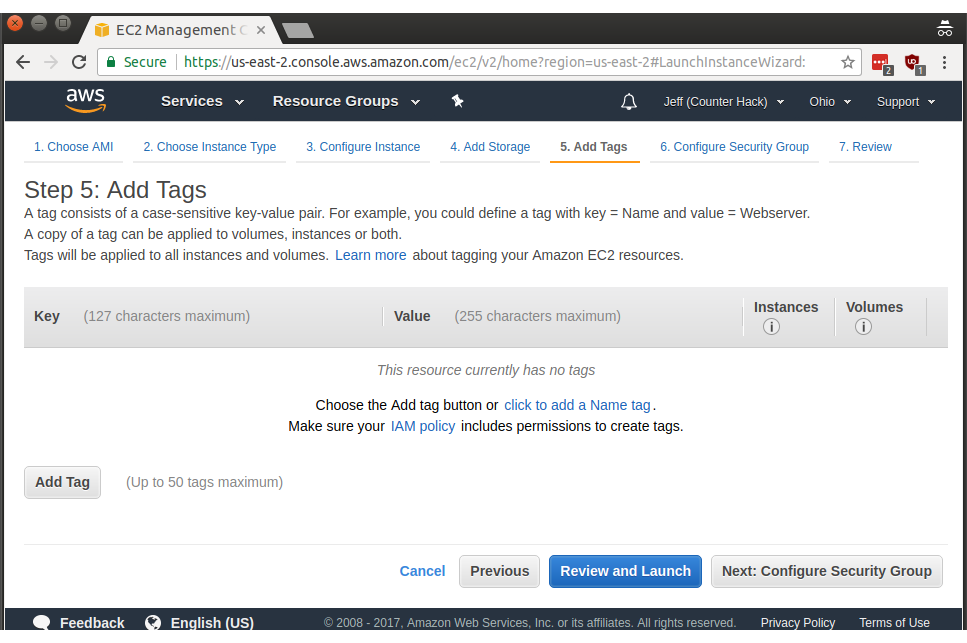
Next, on step 5, we have the option of adding tags, which are convenient for automation and for keeping track of which instances are doing which tasks. For our tasks, though, we can just click Next: Configure Security Group to move to the next step.
Next up is step 6, where we configure the security group for our new instance. By default, Amazon only allows SSH traffic, controlled by a default security policy. If you open up a netcat listener on port 8000 you won't be able to reach that port from across the internet (even if you configure iptables locally to permit that access).
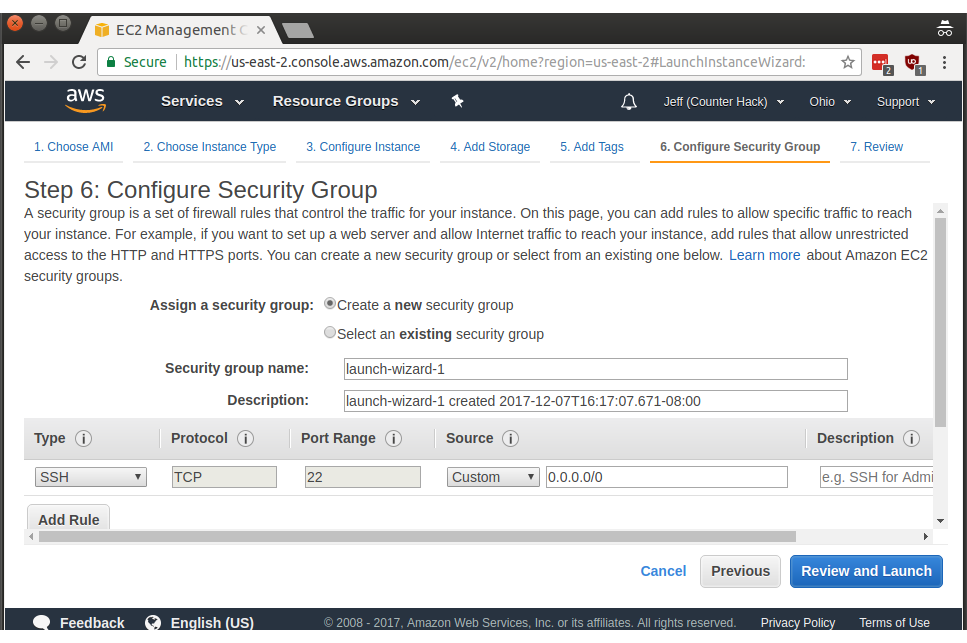
For the purpose of easily using our public IPv4 address with any TCP or UDP port I've configured Amazon to allow all traffic to this new instance. First, click on Type and select All traffic, then set the Source to Custom with 0.0.0.0/0 as the source range. In CIDR notation, /0 means the entire IPv4 internet. I named the security group appropriately as lolsecurity, because I am essentially disabling the Amazon network firewall. Click Review and Launch to move on once you're done.

Step 7 lets us review the settings we've done in the prior steps before launching our new instance. You may want to double-check your work here, but click Launch when you're ready.
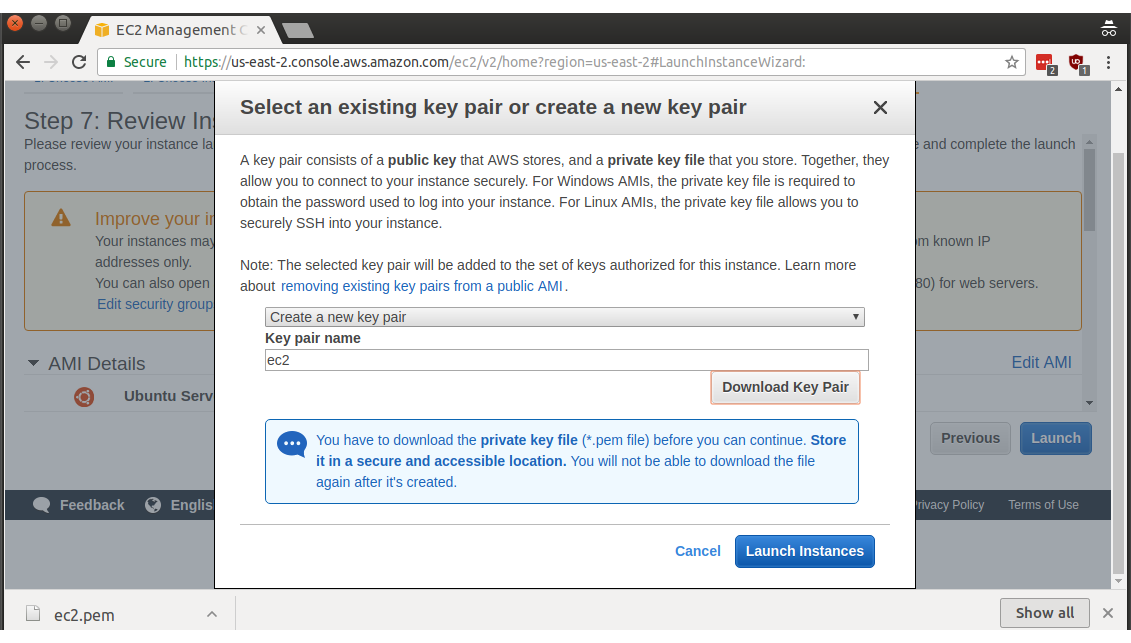
Surprise! We're not quite done. Amazon doesn't normally allow password-based authentication to Linux instances (a practice I agree with), so we need to configure SSH key-based authentication.

In the first dropdown, select Create a new key pair, then choose a name. I wasn't terribly creative, and I went with ec2 as the keypair name.
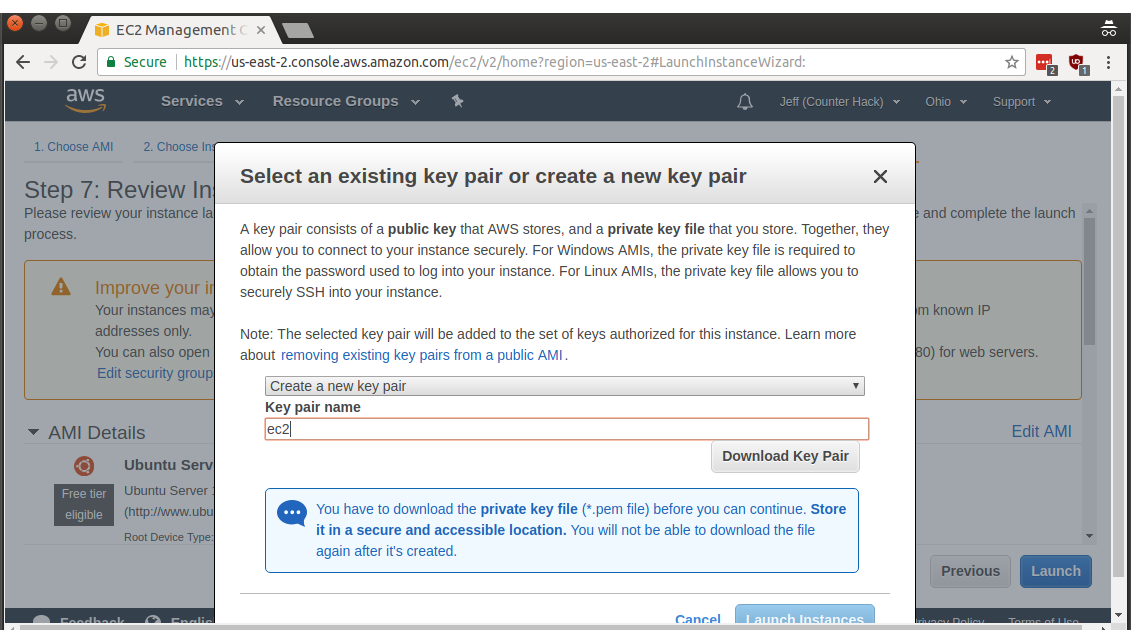
Click Download Key Pair, then click the plurality-challenged Launch Instances button. Woohoo!
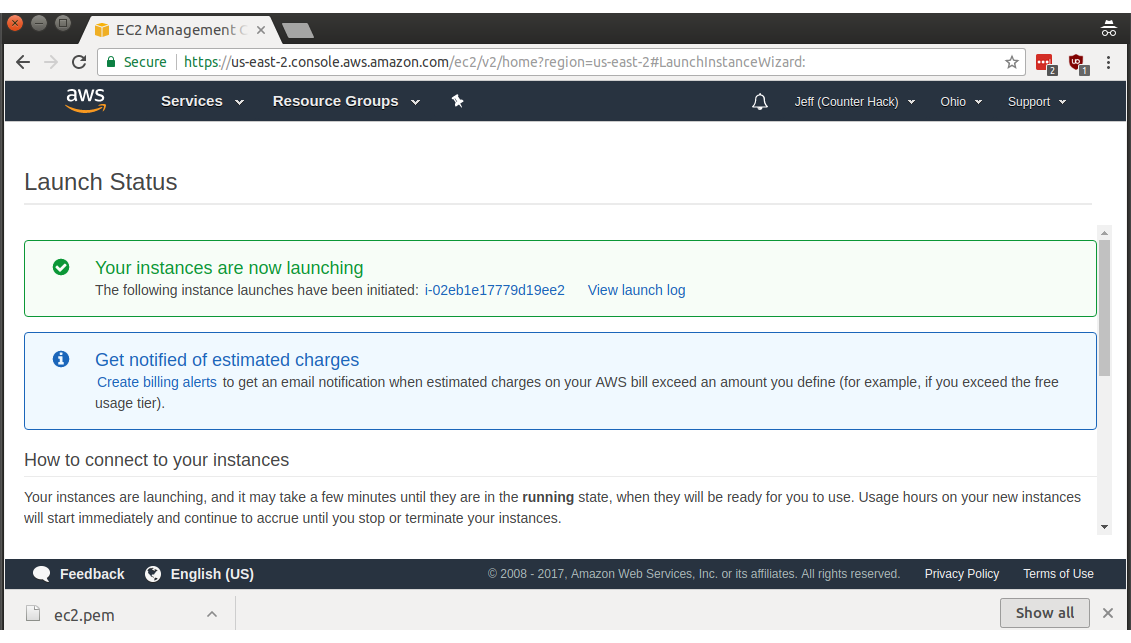
Now we have a keypair and the resulting screen shows that our new instance has launched. Click on the instance name (i-02eb1e17779d19ee2 in my case) to get more details on that instance.
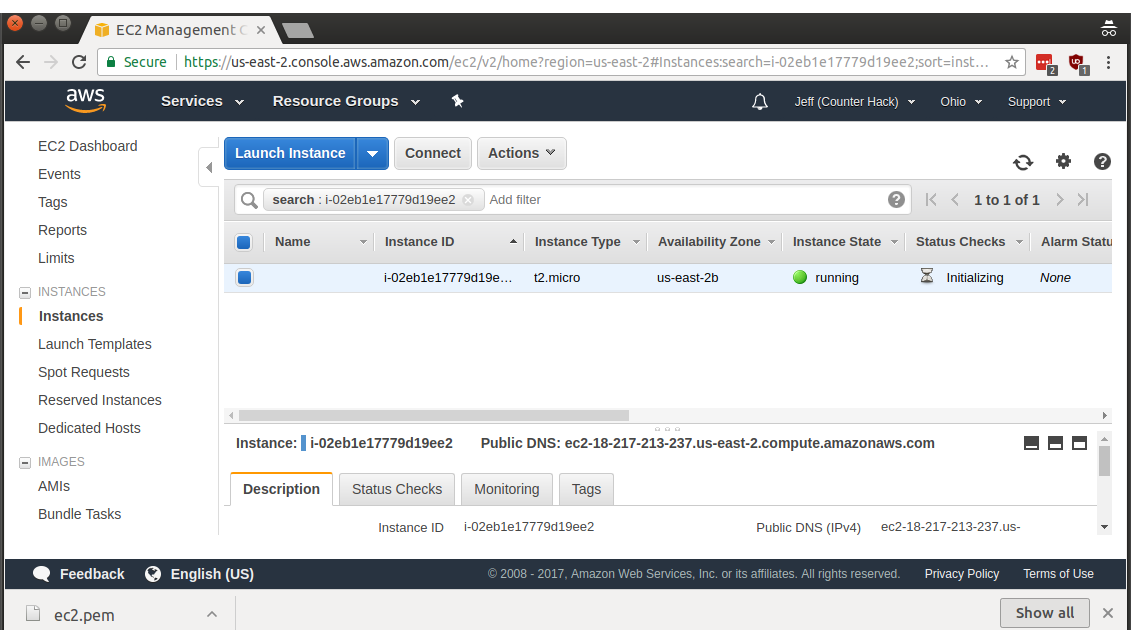
Here we see more information about this instance in particular. Note the built-in DNS name under Public DNS: ec2-18-217-213-237.us-east-2.compute.amazonaws.com in my case.
Ubuntu discourages direct use of the root account, so the actual account name that is automatically created is called ubuntu (case sensitive). If you're coming from a macOS, Linux machine, or Windows 10 with bash installed, you can use the downloaded SSH key (ec2.pem in my case) and log in as follows, accepting the SSH host key by pressing y and Enter when asked:
jeff@blue:~/Downloads$ ssh -i ec2.pem ec2-user@ec2-18-217-213-237.us-east-2.compute.amazonaws.com
The authenticity of host 'ec2-18-217-213-237.us-east-2.compute.amazonaws.com (18.217.213.237)' can't be established.
ECDSA key fingerprint is SHA256:9SChnVhpbky3+Jg06Dtzw6F2Vp+cUGDwf9F1q9A/+9A.
Are you sure you want to continue connecting (yes/no)? yes
Warning: Permanently added 'ec2-18-217-213-237.us-east-2.compute.amazonaws.com,18.217.213.237' (ECDSA) to the list of known hosts.
@@@@@@@@@@@@@@@@@@@@@@@@@@@@@@@@@@@@@@@@@@@@@@@@@@@@@@@@@@@
@         WARNING: UNPROTECTED PRIVATE KEY FILE!          @
@@@@@@@@@@@@@@@@@@@@@@@@@@@@@@@@@@@@@@@@@@@@@@@@@@@@@@@@@@@
Permissions 0664 for 'ec2.pem' are too open.
It is required that your private key files are NOT accessible by others.
This private key will be ignored.
Load key "ec2.pem": bad permissions
Permission denied (publickey).
I, uh, totally meant to demonstrate that issue. By default, your freshly-downloaded SSH private key will have permissions that are excessive. The ssh client wants to discourage other people from being able to read your private key, so it doesn't allow use of insecure private keys. If we're in the same directory as the SSH key, we can fix the permissions on macOS or Linux by running the following command:
jeff@blue:~/Downloads$ chmod 600 ec2.pemNow, let's give ssh-ing in another shot, shall we?
jeff@blue:~/Downloads$ ssh -i ec2.pem ubuntu@ec2-18-217-213-237.us-east-2.compute.amazonaws.com
Welcome to Ubuntu 16.04.3 LTS (GNU/Linux 4.4.0-1041-aws x86_64)

 * Documentation:  https://help.ubuntu.com
 * Management:     https://landscape.canonical.com
 * Support:        https://ubuntu.com/advantage

  Get cloud support with Ubuntu Advantage Cloud Guest:
    http://www.ubuntu.com/business/services/cloud

0 packages can be updated.
0 updates are security updates.


The programs included with the Ubuntu system are free software;
the exact distribution terms for each program are described in the
individual files in /usr/share/doc/*/copyright.

Ubuntu comes with ABSOLUTELY NO WARRANTY, to the extent permitted by
applicable law.

To run a command as administrator (user "root"), use "sudo <command>".
See "man sudo_root" for details.

ubuntu@ip-172-31-29-177:~$
Ah, now that's much better. Run sudo -i to switch to running as the root user, as necessary.
Using Windows and PuTTY to Connect to Your Amazon Instance
If you're using Windows (and not bash on Windows 10), you will need to set up an SSH client such as PuTTY. PuTTY uses a different format for the SSH key, so you'll need to convert the PEM-format download you got from Amazon. Download and install PuTTY from their installation page if you haven't already installed it.
Next, start up PuTTYgen to convert that SSH key.
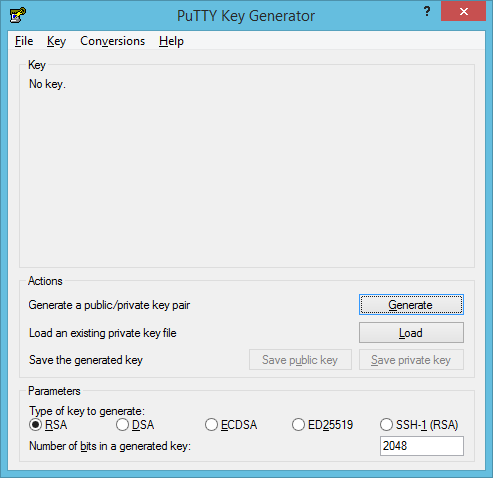
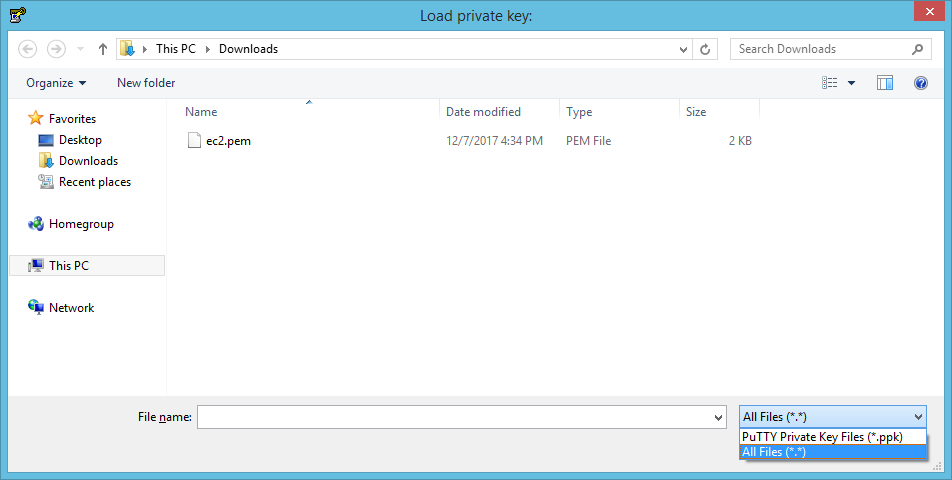
Click on Load, to the right of Load an existing private key. Browse to the folder where you downloaded the Amazon EC2 private key, click the drop-down labeled **PuTTY Private Key Files (*.ppk) and choose All Files (*.*)**, then select the downloaded EC2 private key.
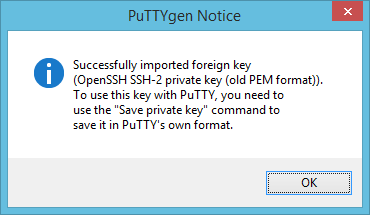
PuTTYgen will let you know it has successfully imported the private key. Next we'll need to save it in PuTTY's own format. Click OK.
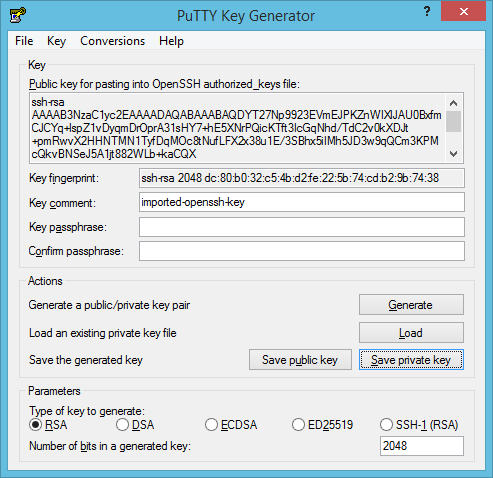
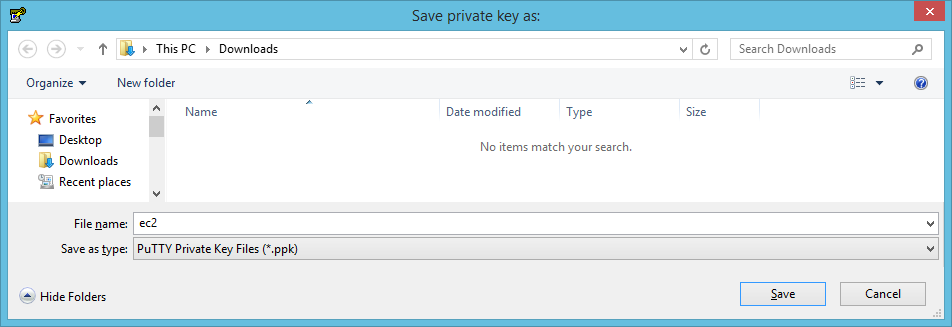
Next, click on Save private key on the main PuTTYgen window.
SSH keys can be encrypted with a password, but I'll skip setting one in this case. "It's not for production" is a great excuse, isn't it? I use that one rather often.
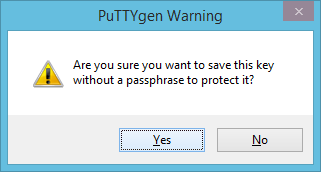
Choose a download location and file name, then click Save.
Okay, we're done with PuTTYgen. Close PuTTYgen and open PuTTY.
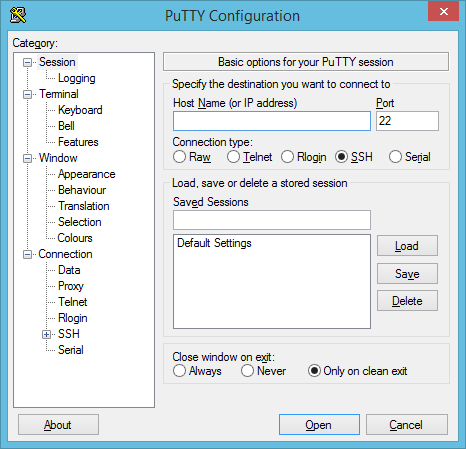
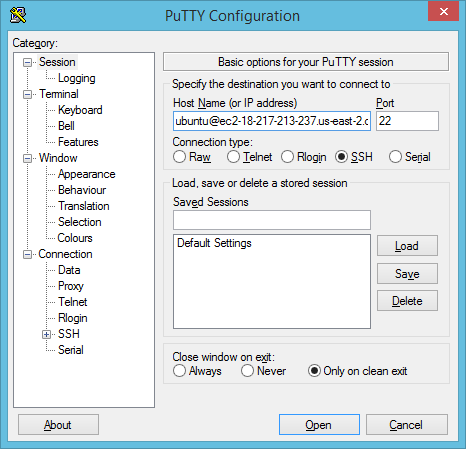
Type ubuntu@ and the Public DNS name we got from Amazon earlier into the Host Name (or IP address) window.
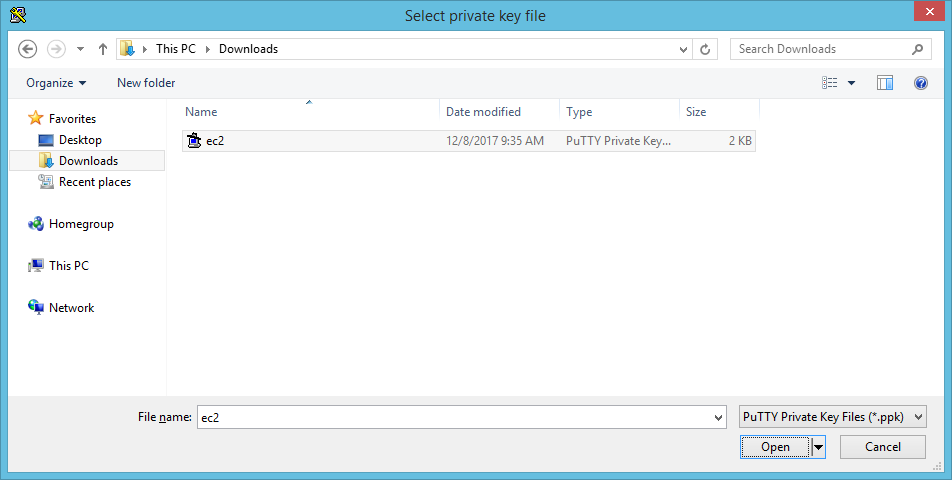
Next, click the plus icon on Connection in the left menu pane, then SSH, then Auth. Click Browse to find the private SSH key we exported just now from PuTTYgen.
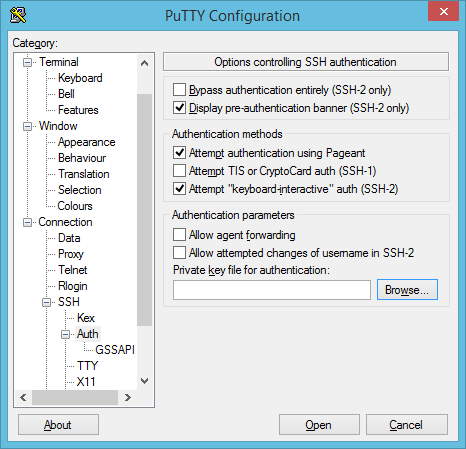
Select your PuTTYgen-generated private key and click Open.
Next, go back to the Session area of PuTTY. I highly recommend saving these session settings by typing a name under Saved Sessions. I chose another uninteresting name of ec2-freetier. Click Save after you've pondered and typed an appropriate name.

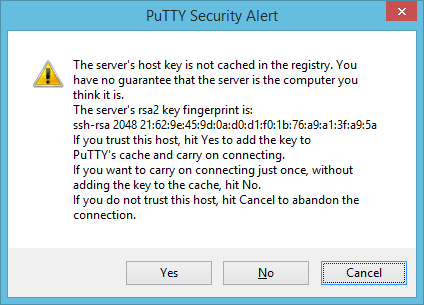
Click Open to connect to your new Amazon instance once you've saved the session. You'll get an SSH host key warning, since this is the first time you've connected to this new IP/hostname:port:SSH server combination.
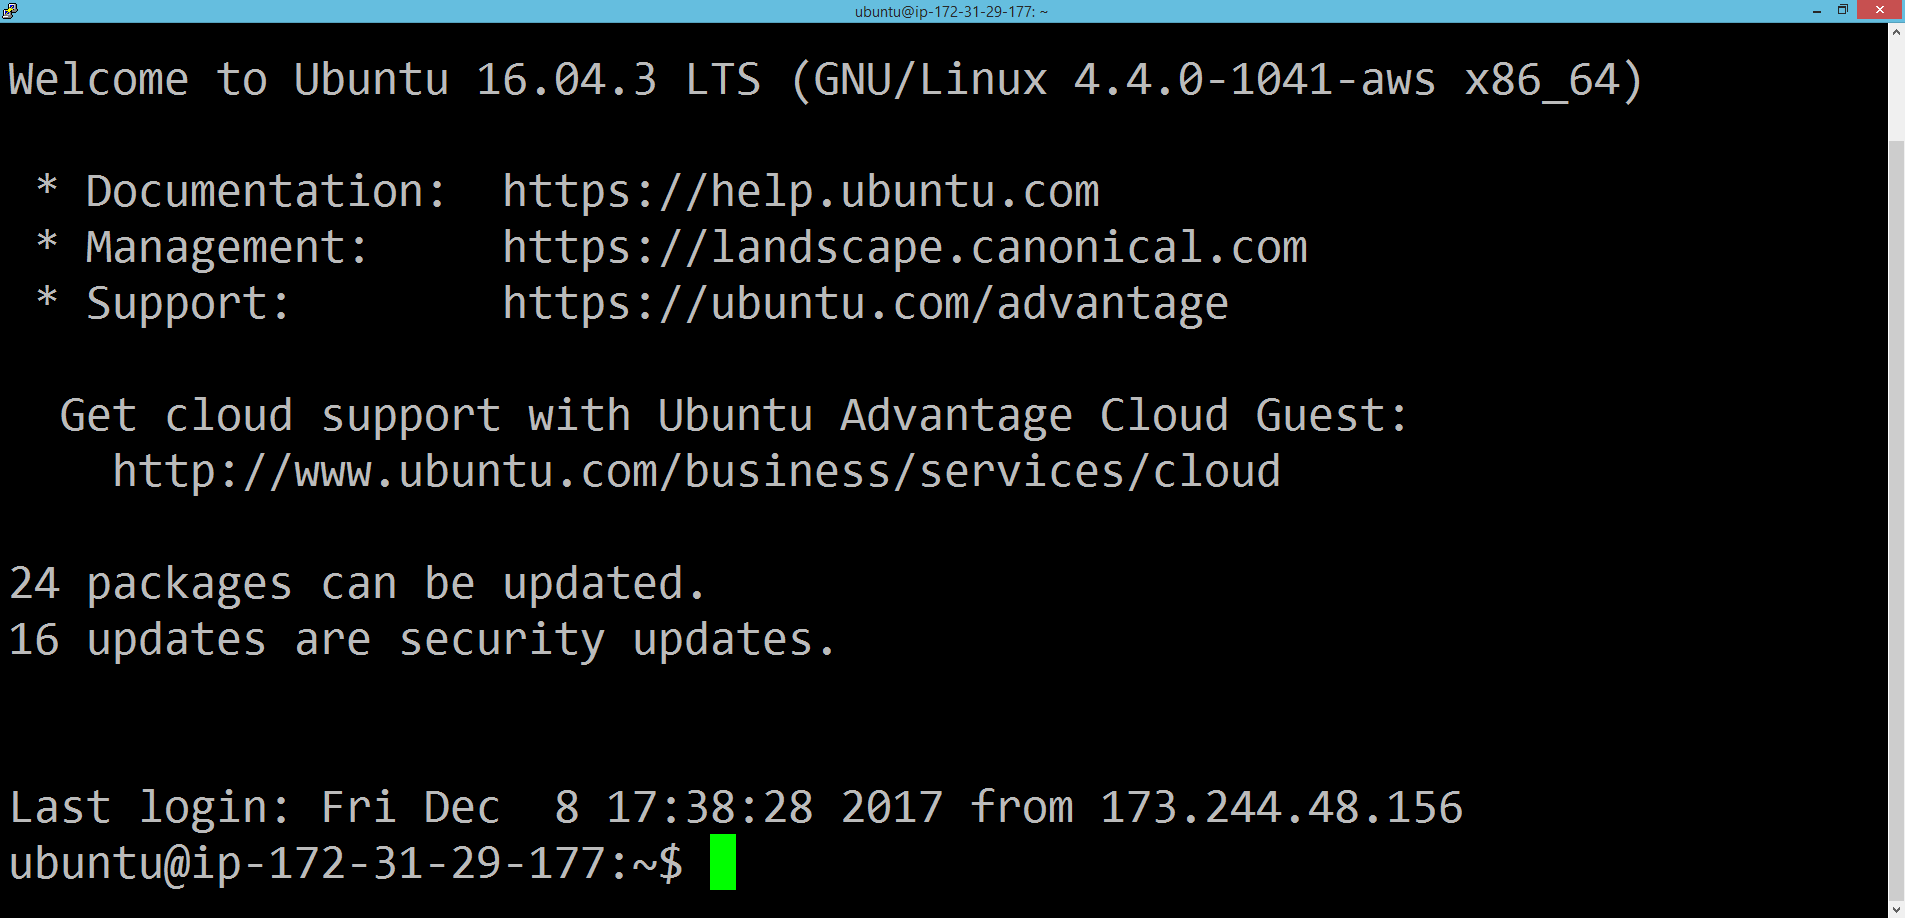
Finally, you're in that remote SSH session using PuTTY! The conversion process is only a one-time pain, so using PuTTY can be pretty convenient.
Conclusion
Using public cloud resources doesn't have to be a pain, but there's some setup work that isn't entirely intuitive. Using these directions you can get a free t2.micro Linux server for a full year. You can actually also run a t2.micro Windows instance online for a year for free, too! I hope this helps! Enjoy your holiday hacking season, and I hope you enthusiastically partake of any challenges that life (or Counter Hack and SANS) sends your way.
Until next time...
- Jeff McJunkin
@jeffmcjunkin


